
React Hooks, explained.
Suppose you need to buy some new clothes.
So you do what any person who do and begin shopping online.
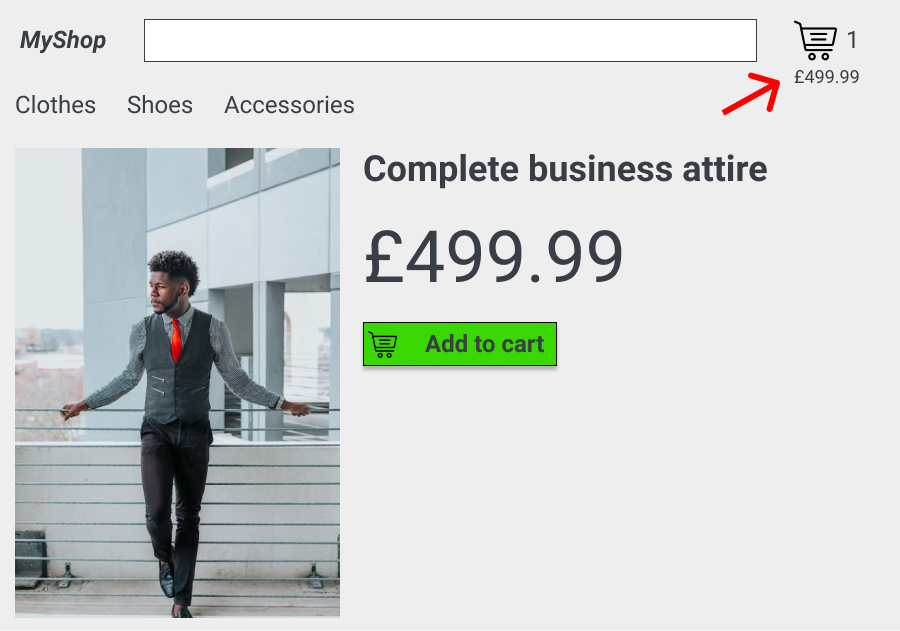
You stumble upon a shop called MyShop, which looks like this:

So you find something you fancy and click on the image to view details, like the price.

Once you're happy, you click on the Add to cart button.
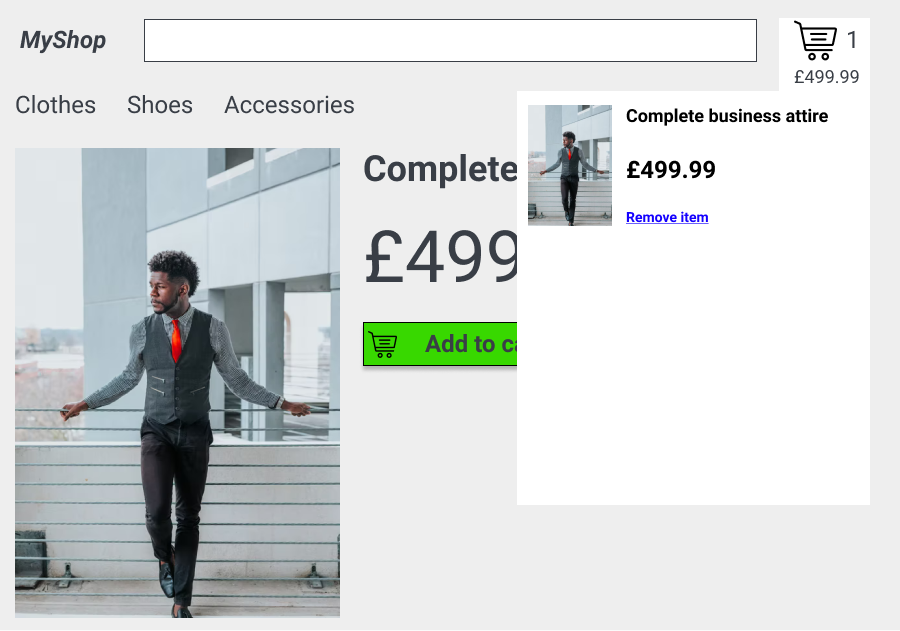
You notice that the item has been added to your shopping cart, immediately. No need to refresh the page.
It's a very interactive website and you'll even get a peek of your shopping cart once you click on the cart icon.
How can a website do this?
Well, the simple answer is Javascript.
The answer gets considerably more complex when you get into the details of what happens from the moment you click on the Add to cart button, to the moment the item shows up in the shopping cart at the top right.
Specifically this is what you need to do to make this possible with vanilla Javascript:
- Bind the Add to cart button to a function
- This function would manually get the cart icon element and the popup element from the DOM.
- The new item would be added to an array
- The function would get the length of the array and update the number of items next to the icon
- Then it would manually generate new elements for each item in the shopping cart.
- Repeat for every new addition
Seems like a long process and code would become complex and convoluted.
As we know, React makes your life slightly easier as we explained in "React, explained".
So is there an easier way, using React, to make a more stable way to develop the cart functionality without so many manual steps?
There is:
Enter React Hooks!
React Hooks are a way of saying:
I'm gonna display this variable. Any time it changes, I will automatically change it as well without any additional steps.
As a simple example, imaging a simple field where you enter your name.
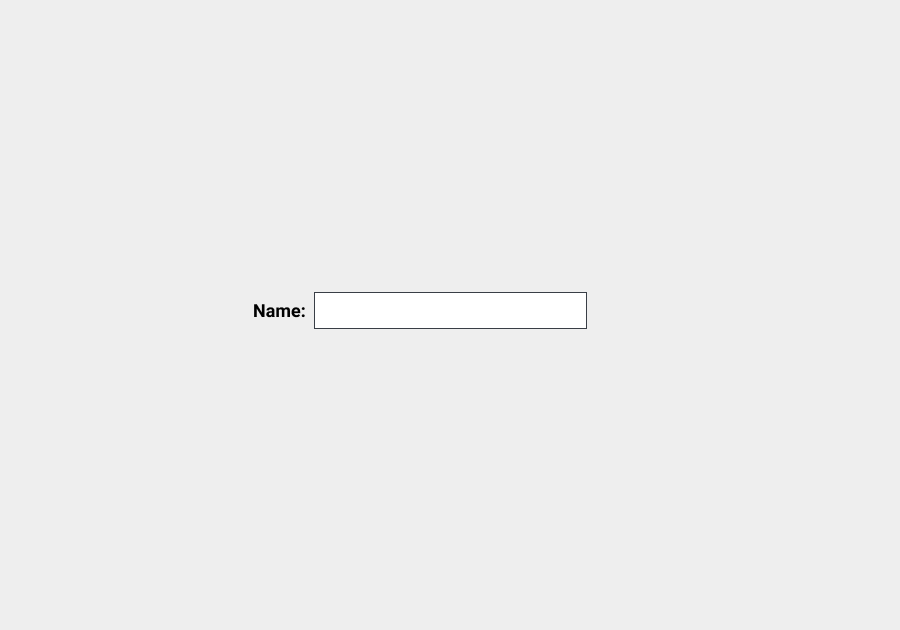
While you type, the value gets displayed below the field.
In React, the code for the form would look something like this:
export default function App(){
    return(<div id="App">
            <form>
                <label for="name-input">Name: </label>
                <input id="name-input" />
            </form>
        </div>)
}
To do the greeting, all we need to do is to introduce something called useState. This is called a "hook":
+import React, { useState } from "react"

export default function App(){
    return(<div id="App">
            <form>
                <label for="name-input">Name: </label>
                <input id="name-input" />
+               <div id="greeting"></div>
            </form>
        </div>)
}
The useState hook provides two things:
- The variable
namewhich will contain the name - A function
setNamethat will change the value of the variable and update every element that consumes it:
import React, { useState } from "react"

export default function App(){
+   const [name, setName] = useState("")
    return(<div id="App">
            <form>
                <label for="name-input">Name: </label>
                <input id="name-input" />
                <div id="greeting"></div>
            </form>
        </div>)
}
"" within useState is just the initial value for the name variable.
So how can we make it so an element displays the value of the variable, even if it changes?
Using the {} syntax. Like this:
-<div id="greeting"></div>
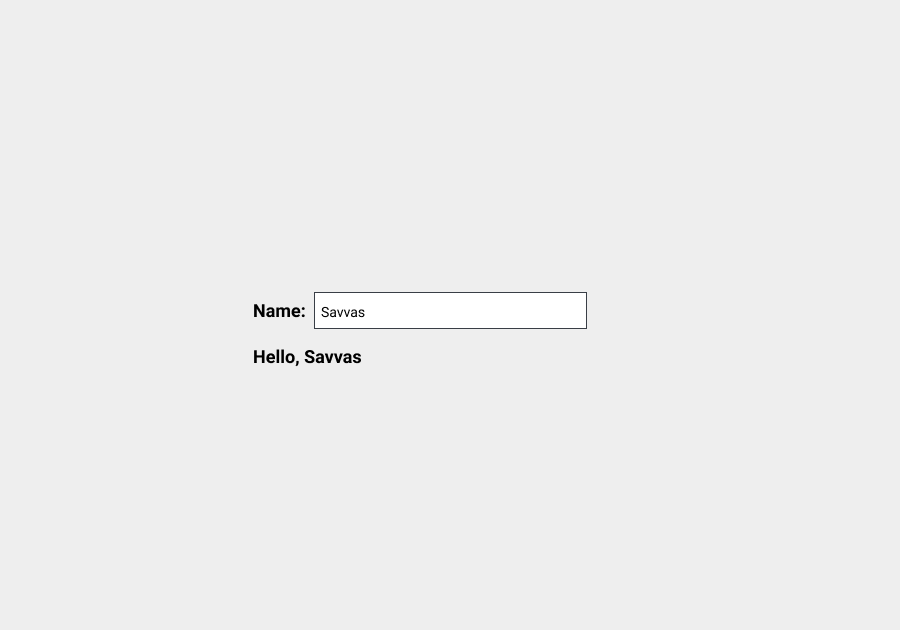
+<div id="greeting">Hello, {name}</div>
Lastly, we'll use setGreeting within the <input> field to update the name value:
-<input id="name-input" />
+<input id="name-input" onChange={(event) => setGreeting(event.target.value)}/>
And that's it! Now as you type, you'll get greeted below!

So how would that work for our shopping cart?
First, we create an empty array which will act as our shopping cart, using the useState hook:
const cart = [cart, setCart] = useState([])
The number next to the cart icon will basically use the .length variable of the cart array:
<div id="cart-count">{cart.length}</div>
And the popup to peek at the shopping cart is basically the list of items:
<div id="cart-popup">
    cart.map((item) => {
        return <ul>
            <h2>{item.name}</h2>
            <div>{item.price}</div>
            <button>Remove item</button>
        </ul>
    })
</div>
Finally, the Add to cart button will trigger the addItem function to add the new item to the cart using the setCart function from our hook:
<button onClick={() => {
    addItem(item)
}}>Add to cart</button>

function addItem(item){
    cart = cart.push(item)
    setCart(cart)
}
That's it! Now every time the Add to cart button is clicked, the shopping cart will get updated!
What's next?
useState is just one of the hooks supported by React:
useEffectuseContextuseReducer
Check this page on Hooks for a complete overview of hooks and how to even create your own one!
Dev, Explained (43 part series)
- Javascript Scopes, explained.
- Javascript Promises, explained.
- Accessibility, explained.
- React, explained
- Should I use forEach() or map()?
- Should I use Flexbox or CSS Grid?
- Docker, explained.
- Unit testing, explained
- Git, explained.
- Typescript, explained.
- async/await, explained.
- The DOM, explained.
- Regular expressions, explained
- GraphQL, explained.
- Vue, explained.
- Svelte, explained.
- API, explained.
- Javascript Hoisting, explained.
- Immediately Invoked Function Expressions (IIFE), explained.
- ARIA roles, explained.
- Test-driven Development, explained.
- ARIA live regions, explained.
- aria-label in accessibility, explained.
- Type coercion in Javascript, explained.
- Variables, explained.
- if statements, explained.
- Arrays, explained.
- Currying in Javascript, explained.
- Memoization, explained.
- For loops, explained.
- Javascript Prototypes, explained.
- React Hooks, explained.
- Graph databases, explained.
- MongoDB, explained.
- Serverless, explained.
- Javascript Callback functions, explained.
- HTML, explained.
- CSS, explained.
- Responsive design, explained.
- Javascript, explained.
- The CSS Box Model, explained.
- CSS Flexbox, explained.
- CSS Grid, explained.